Introduction
Disasters can strike at any moment, leaving communities in need of immediate assistance and resources. A well-prepared disaster response toolkit can make a significant difference in how effectively a community responds to crises. In this article, you will learn how to create a comprehensive disaster response toolkit that can help your community be better prepared for emergencies. We will walk you through the essential steps to gather resources, organize information, and mobilize community efforts.
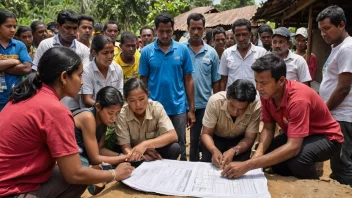
Step 1: Assess Community Needs
Before creating your toolkit, it's crucial to understand the specific needs of your community. This assessment will guide the resources you include in your toolkit.
- Conduct Surveys: Distribute surveys to gather input from residents about their concerns and needs during a disaster.
- Identify Vulnerable Populations: Recognize groups in your community that may require additional assistance, such as the elderly, disabled, or low-income families.
- Consult Local Experts: Engage with local emergency services, health professionals, and community leaders to gain insights on potential risks and necessary resources.
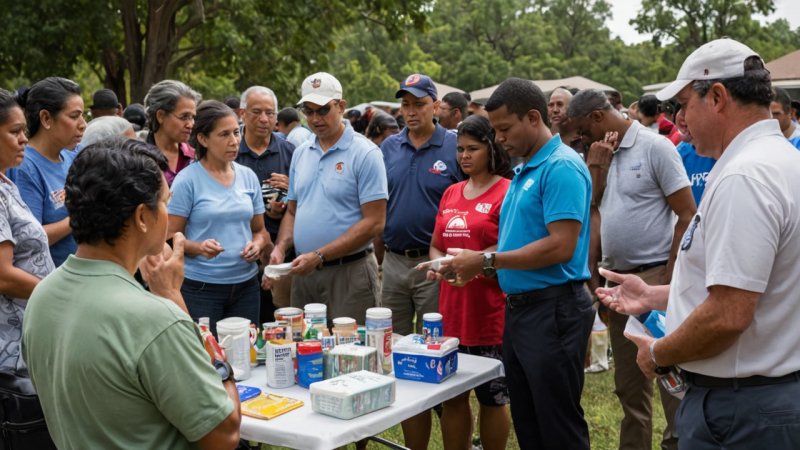
Step 2: Gather Essential Resources
Once you have assessed the needs, start compiling the resources that will be included in your toolkit. Focus on items that can aid during various types of disasters.
- Emergency Supplies: Include items such as first aid kits, flashlights, batteries, non-perishable food, and water purification tablets.
- Communication Tools: Gather resources like walkie-talkies, a list of emergency contacts, and a community alert system.
- Evacuation Plans: Create clear evacuation routes and maps, making sure to highlight safe locations and shelters.
- Health and Safety Information: Provide guidelines on hygiene, sanitation, and health services available in your community.
Step 3: Organize Information and Resources
With your resources collected, it’s time to organize them in a way that makes them easily accessible to community members during an emergency.
- Create a Digital Toolkit: Use a website or app to compile all the resources, making sure it is user-friendly and accessible to everyone.
- Print Physical Copies: Provide printed guides that can be distributed to households, ensuring that everyone has access to crucial information.
- Set Up Resource Centers: Designate locations in the community where people can go for help and access the toolkit during a disaster.
Step 4: Train Community Members
Having a toolkit is essential, but training community members on how to use it is equally important.
- Conduct Workshops: Organize training sessions where community members can learn how to use the toolkit effectively.
- Simulate Drills: Carry out disaster response drills to practice using the toolkit and ensure everyone knows their roles during an emergency.
- Encourage Peer Education: Empower community leaders to share information about the toolkit with their networks, fostering a culture of preparedness.
Step 5: Review and Update Regularly
Disaster preparedness is an ongoing process. Regularly reviewing and updating your toolkit ensures it remains effective and relevant.
- Gather Feedback: After each drill or actual disaster, collect feedback from participants to identify areas for improvement.
- Update Resources: Replace expired items and add new resources based on evolving community needs and risks.
- Stay Informed: Keep abreast of local and global disaster trends to adjust your toolkit accordingly.
Conclusion
Creating a disaster response toolkit for your community is a vital step towards enhancing resilience in the face of emergencies. By assessing community needs, gathering essential resources, organizing information, training members, and regularly updating your toolkit, you empower your community to respond effectively to disasters. Remember, preparedness is a collective effort, and together, we can make a significant difference in safeguarding lives and livelihoods.